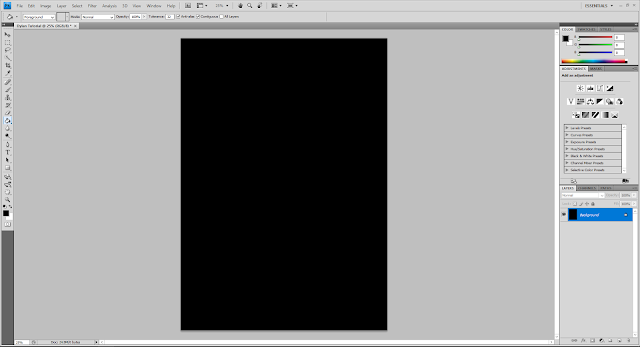
1. Open up a new Photoshop page with an A4 canvas (if creating a poster).
2. Fill the background in black
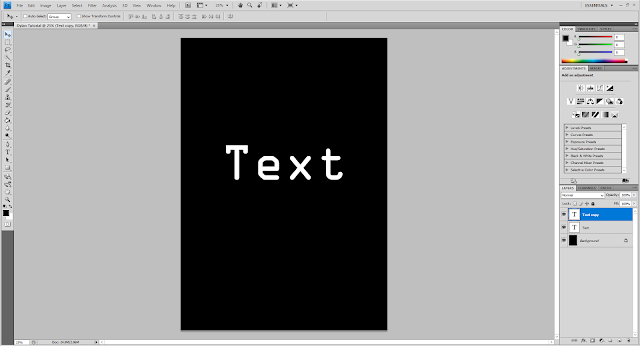
3. Create some text by pressing 'T' on the keyboard (shortcut to the text tool) then type the title in a white font.
4. Duplicate the layer by pressing 'Ctrl' + 'J' (CMD + J).
6. After adding the blur once, press 'Ctrl' + 'Alt' + 'F' (CMD + Ctrl + F) to reapply the blur, repeat this numerous times until happy with the glow of the text.
7. Add another blur, found in the same place as 'Radial Blur' called 'Gaussian Blur'. Add a radius of around 0.6.
8. Now add this same blur to the first layer of text that hasn't been rasterized yet.
9. Create a new layer on top of both text layers and fill it in black.
10. Select this layer and add a 'Lense Flare'. To do this select 'Filter' > 'Render' > 'Lense Flare' and select the 105mm. The brightness is up to you! Make sure that you position the flare at the same place where the text positioned.
11. Select the layer again, and change the blending option to 'Screen'. The blending option is found just above where you select the layer.
12. Create another new layer on top of both the text layers and lense flare, then colour it with the intended colour of the light. In the case of my poster it is blue, in this tutorial I am using red.
13. Select the blending option for this layer to be 'Overlay' then change the opacity (found in the same area as where you select the layer) until you are happy with the colour.
Clear up the smaller light bits with a black paint tool if you wish, or just cover them with images!


No comments:
Post a Comment